Showing posts with label gift wrap. Show all posts

Friday, January 16, 2015

Packaging and Giving Candy Bark

I am thrilled and overjoyed to share with you my final post in my Candy Bark series.  It has been a lot of fun experimenting with this delicious craft and now I have an easy "go-to" homemade candy to make for special occasions!

I loved using many of my on-hand supplies to package the candy bark.  I did this right after the holiday season, so my packaging is Christmas-themed but these ideas can be adapted for any occasion.


Read on for a full photo tutorial on Packaging & Giving Candy Bark!

Saturday, December 25, 2010

Last-Minute Gift Solutions!

Sometimes even when you don't procrastinate, you can't find the Christmas gifts you so lovingly chose and carefully hid.  So you just have to improvise.

At least it's pretty, right?
And sometimes you just want to spoil your family and not clutter their homes with chachkes.

relaaaaaax... Zzzzzzzz


And yet, during these times, you might have misplaced (some of) your normal craft supplies and, well, these were lying around.

CHEEEEAP cell phone cover & SHARP scissors!
(I don't remember the *exact* cost of the cell phone rhinestones, but I am pretty sure I got them at the dollar store.)

Quick tutorial/tip!  Go out a buy a cheap rhinestone cell phone cover, and use your tiniest, sharpest scissors to cut strips of rhinestones.  While cutting, keep the clear backing on the sticker, and make sure that some of it is protruding out at the end of the line of rhinestones, so you can remove the stones from the backing.  While applying the rhinestones, do not let your fingers touch the backing.  To isolate an individual rhinestone, peel back the edge of the plastic backing, let the rhinestone touch your paper, and carefully snip the rest of the line of rhinestones away.  You can reposition the rhinestone by using your scissors to grasp the sides of it before you press it down.

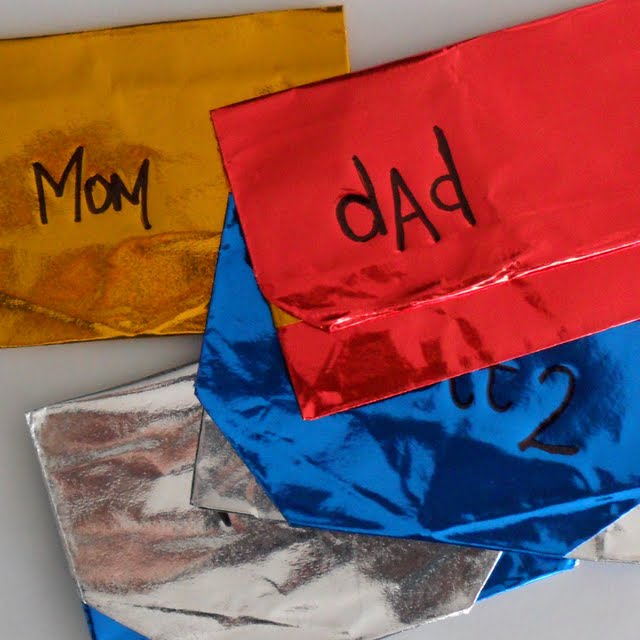
And because these gifts are kind of small, you just have to break out the origami book to make them a bit more special.

These held the frozen yogurt giftcards.
It's reusable!
If you're interested in an origami book with simple instructions, you can get the one I have here.  It's called Origami: Easy-to-Make Paper Creations by Gay Merrill Gross.  I highly recommend it!

Monday, September 6, 2010

Free Project: Big-Ol' Gift Bag

Let's face it.  Christmastime can get really busy.  The stores are packed, and it's not always that easy to find the perfect wrapping for your presents.  And well, at the last minute, you might find that you need a gift bag.  Kinda soon.  I love this project because it lets me avoid ridiculousness that is retail shopping during the holidays.

So here's a quick little craft that uses what you probably already have on hand.  I loved doing this craft, and I hope you do, too.
That's the front...
 Big-Ol' Gift Bag
What you need*:  Trader Joe's (or other similar) paper bag with handles, acrylic paint (red), foam brush, squeezable fabric paint (green & white), bubble wrap, paper plate, scrap paper.
*The project can be adapted to other themes by using other paint colors & motifs.  I'm just letting you know exactly what I did.

What to do:
  1. Using red acrylic paint & foam brush, paint over the store logo in the shape of a circle.  Let dry.
  2. Using green, squeezable fabric paint, accent the red circle to look like a Christmas ornament.  I drew a rectangle on top of the circle, and made a few curved, zig-zag, and squiggly lines on the circle part.  Let dry.
  3. Squeeze some white fabric paint onto a paper plate or other surface.  Dab bubble wrap into the paint and test the impression on your scrap paper.  When you are happy with the impression, use the bubble wrap to apply the white paint to the gift bag in a random pattern.  The idea is that it will look like snow falling.  Let dry.
  4. (Optional) Write your holiday greeting in green, squeezable fabric paint.  Let dry.
  5. Repeat steps 1-3 on the other side of the bag.
  6. If applicable, cover logos on the sides of the bag with red acrylic paint.
And that's the back.
Enjoy!