Showing posts with label free projects. Show all posts

Sunday, April 1, 2012

12 #Free Warm Weather #Crochet Patterns

April's here and it's time to say hello to warmer weather!  Some crafters put their crochet and knitting down for the summer, but that is not necessary!  I think it's time to do some spring cleaning, so I'm taking stock of my stash, and revisiting my queue.  Spring is great for working on smaller projects in thinner and cooler yarns.

I have a lot of ideas for springtime blog posts, but we'll see what I have time for!  Life has gotten super busy all of the sudden.  Today I'm just going to look at my Ravelry queue and show you my top twelve freebies to stitch this summer.

Owls Two Ways (crochet) by Ana Clerc

Super Simple Bows on Things to Make and Do
Ten more...

Tuesday, March 1, 2011

31 Crafts for March, National Craft Month!

March is National Craft Month!
What will you do to celebrate?

For me, crafting is not a special occasion.  Crafting is a way of life.  I feel very fortunate to have a useful hobby that I enjoy and something that I can do every day.  Crochet comes with me in the car on my morning commute (in which I am a passenger, don't worry!).  I take it on road trips.  I've always got something in my bag to pass those minutes spent in line at the bank.  You'll see me out at cafes with hook, yarn and latte.  Although I feel completely capable of participating in a meeting or monitoring a test while stitching, I draw the line there.  The only stitch time I sneak in at school is during recess duty.


Were it not for being open to new crafts, I may have never found this wonderful hobby, which is practicality, art, and craft all wrapped up in one.


In order to share some great ideas, but also remind myself of projects I'd like to do, I am linking to 31 high-quality craft tutorials to fill your National Craft Month.


Enjoy!

A floral adornment to my new stash bag.
Pattern Link (to Crocheted Stash Bag)

Accessories

Gifts

Home
 
Food & Drinks

Paper Goods

Clothing


Thursday, February 24, 2011

Collaged Journal and Day Planner

I just wanted to share a few pictures of some fun (and quick) projects I did over Christmas break.  

Why yes, I did complete this craft while on a road trip.
This was so easy!

1.  I bought a $1.00 planner in the dollar spot at Target.
2.  Then I covered it in beautiful stickers I found in my stash.

The stickers are from the now defunct Eziba of North Adams, MA.  Eziba was a really cool website featuring fair trade items from all around the world.  I am sure I got the stickers for free, but I don't remember how I got so many!  Anyway, all I did was collage these stickers all over the day planner.  Voila!  It's so cute and it only cost a dollar.

I folded some stickers over the edges.
This two-year planner is month-style and I'm using it to plan my blogging.  :)

Using more or less the same technique, I later collaged this journal.  
I added self-stick crystals and secured them with Glossy Accents.
This time the stickers were from Fusion Bazar.  I LOVE these stickers.  Unfortunately I can't remember the name of the vendor, but if I find out next time, I'll let you know.  I love the crystals and reflective tape.

mad culture
 This journal keeps me on track with my ideas and to-dos.

Saturday, December 25, 2010

Last-Minute Gift Solutions!

Sometimes even when you don't procrastinate, you can't find the Christmas gifts you so lovingly chose and carefully hid.  So you just have to improvise.

At least it's pretty, right?
And sometimes you just want to spoil your family and not clutter their homes with chachkes.

relaaaaaax... Zzzzzzzz


And yet, during these times, you might have misplaced (some of) your normal craft supplies and, well, these were lying around.

CHEEEEAP cell phone cover & SHARP scissors!
(I don't remember the *exact* cost of the cell phone rhinestones, but I am pretty sure I got them at the dollar store.)

Quick tutorial/tip!  Go out a buy a cheap rhinestone cell phone cover, and use your tiniest, sharpest scissors to cut strips of rhinestones.  While cutting, keep the clear backing on the sticker, and make sure that some of it is protruding out at the end of the line of rhinestones, so you can remove the stones from the backing.  While applying the rhinestones, do not let your fingers touch the backing.  To isolate an individual rhinestone, peel back the edge of the plastic backing, let the rhinestone touch your paper, and carefully snip the rest of the line of rhinestones away.  You can reposition the rhinestone by using your scissors to grasp the sides of it before you press it down.

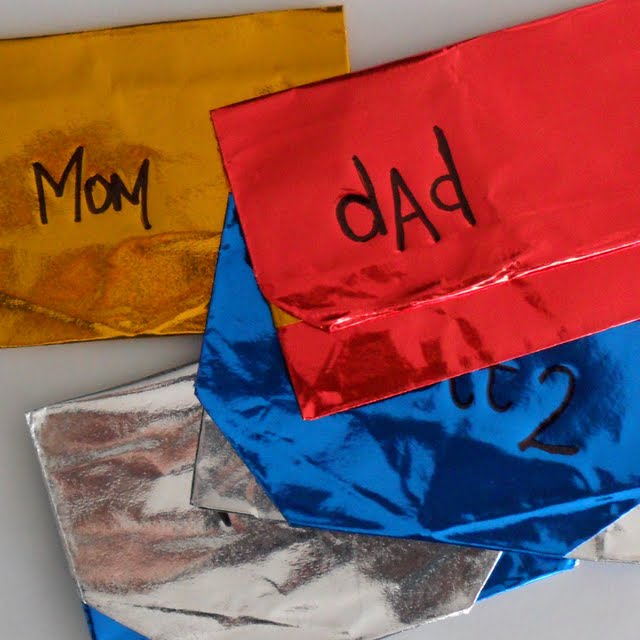
And because these gifts are kind of small, you just have to break out the origami book to make them a bit more special.

These held the frozen yogurt giftcards.
It's reusable!
If you're interested in an origami book with simple instructions, you can get the one I have here.  It's called Origami: Easy-to-Make Paper Creations by Gay Merrill Gross.  I highly recommend it!